Development Container
The supported way to run CRS is in a Docker container. The container is created and run through the user of the crs-docker command:
$ crs-docker up     # build the container and start network & VNC
$ crs-docker run    # run the container and access a shell inside
As listed in the First Steps section, it is possible to edit the code in your local cloned CRS directory and then run the code inside the container.
However, it is also possible to directly attach Visual Studio Code to the container and edit the code in the same environment it is run. This gives you the advantage of automatically configured IntelliSense, correct Python versions and debugging capabilities!
- Open the CRS folder in Visual Studio Code.
-
When prompted with the following message, choose Reopen in Container.
"Folder contains a Dev Container configuration file. Reopen folder to develop in a container (learn more)."
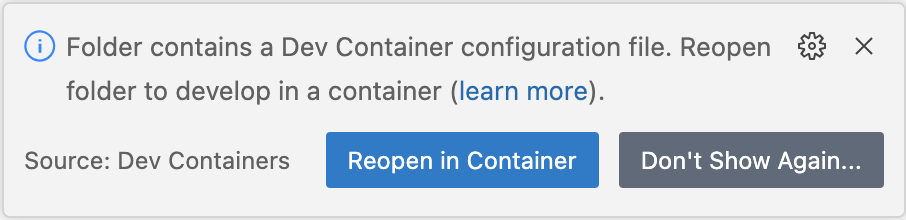
-
If the prompt does not show up: Open the command palette (View > Command Palette…) and enter Dev Containers: Rebuild and Reopen in Container.
- Visual Studio Code now spins up the CRS container for you!
Note that when you work inside the container, you don't have to run crs-docker up or crs-docker run anymore. Visual Studio Code now manages the life cycle of the container.
Interactive debugging in a Development Container
An advantage of working directly in a Development Container is that it is possible to debug ROS nodes interactively!
Recommended Extensions for the Development Container
Some recommended extensions should be installed automatically in the development container. Verify in the Extensions tab (ctrl+shift+x on Ubuntu, ⇧⌘X on macOS) that the following are installed or install them manually:
- C/C++, C/C++ Extension Pack
- Python
- Clang-Format
- ROS